Scribe Media does not currently offer consulting services for self-publishing to Amazon. Before scheduling a consult, please review our book writing, coaching, publishing, or marketing services.
Amazon self-publishing is a simple option if you’re an indie author looking to publish an eBook or paperback book (through Amazon’s print-on-demand service) with less hassle normally found throughout the publishing industry. It won’t cost you anything directly to publish on KDP, though Amazon does deduct the cost to print your book from your royalties if you’re selling paperback versions.
But if you blindly follow the technical steps to publish your book on Amazon without taking the time to do it right, you’ll end up with a book you won’t be proud of.
You deserve better than that.
Your book deserves better than that.
How Long Does it Take to Publish a Book on Amazon
Some articles promise that if you follow their steps, you can be published by the end of the day. That’s true, I guess. But rushing through it will usually make your book, and thus you, look bad.
So I wrote this guide to accomplish two things:
- Lay out the technical steps to publishing on KDP
- Walk you through the right way to do that so that you look as good as possible
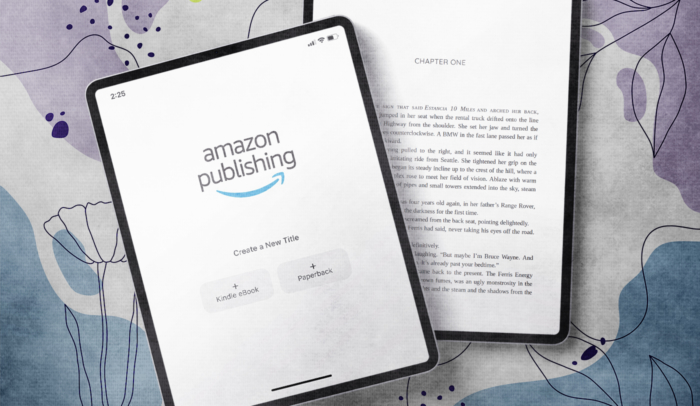
Note: Amazon offers two types of publishing options. These steps are specifically for Kindle Direct Publishing (KDP) and not Amazon traditional publishing (Amazon Publishing).
Doing each step the right way might take a few extra hours. In some cases, it might take a few extra days. But it’s worth it to end up with a book you’ll be proud of, and a book that will sell.
I won’t promise that you can be published by the end of the day. Here’s my promise:
If you follow this guide, you’ll end up with an exceptional Amazon listing, a solid marketing plan, and a book you’ll be proud to call your own.
How to Publish a Book on Amazon KDP (Amazon Self-Publishing)
Step 1. Create an Amazon Kindle Direct Publishing (KDP) Account
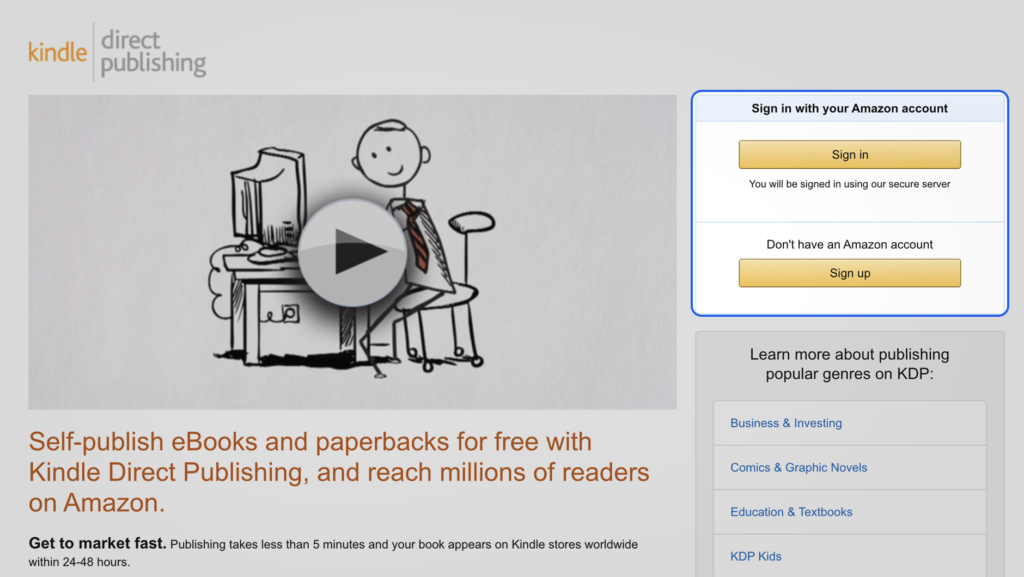
Visit kdp.amazon.com and choose “Sign in” or “Sign up.”
If you already have an Amazon account, use it to sign into the KDP system. If not, create a new KDP account.
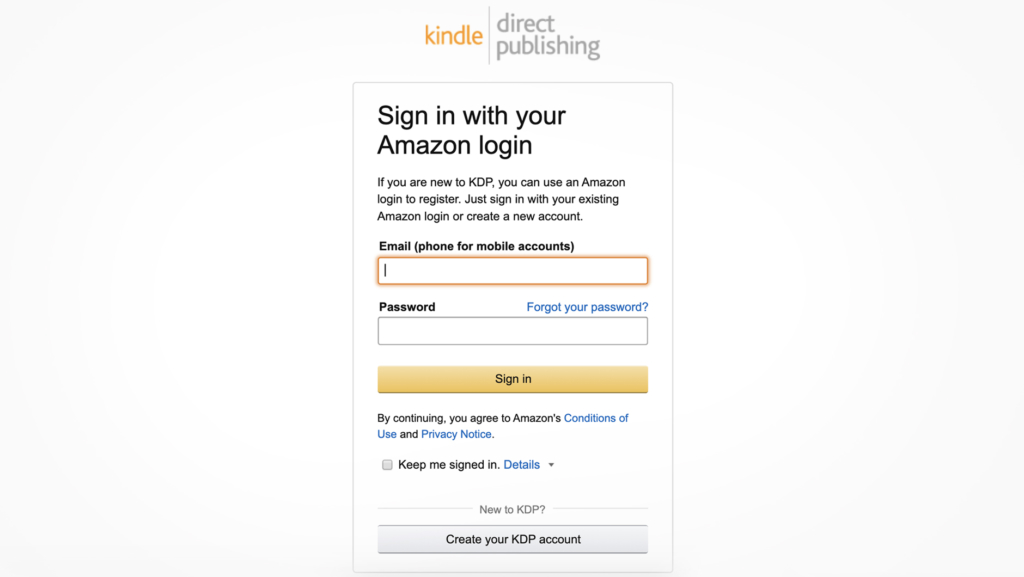
Because it’s your first time signing in with KDP, you’ll need to accept the terms of use.
Once you do that, you’ll see your Amazon Author dashboard.
Step 2. Add a new Kindle ebook (a “new title”)
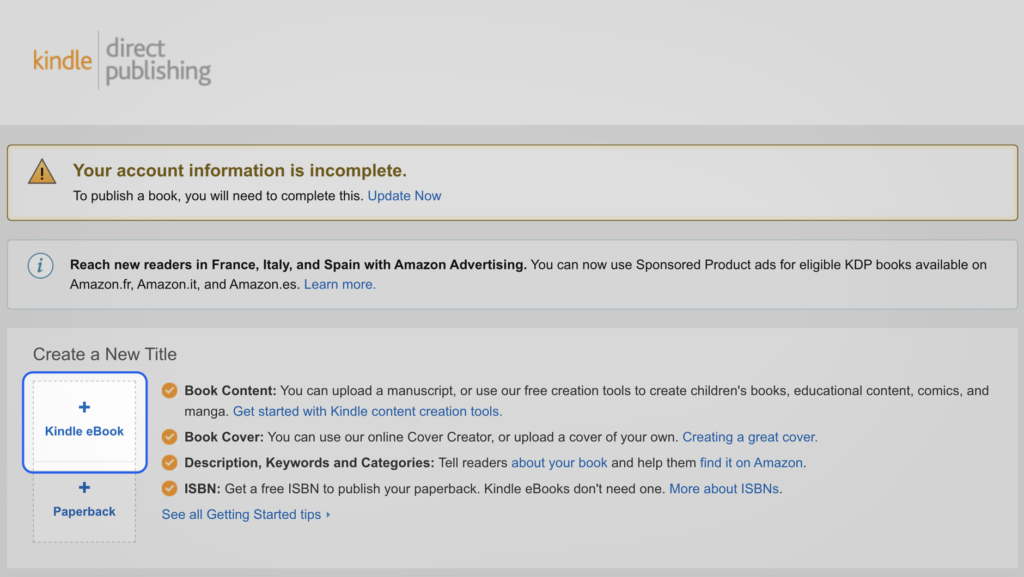
Since this is your first book on Amazon, you won’t have any titles listed yet. Click the box that says “+ Kindle eBook” to add a new Kindle book.
As you start entering information, choose “Save as Draft” at the bottom of the page if you have to stop in the middle.
Step 3. Set Your Primary Language
Choose your eBook’s primary language (the language in which the book was written). Learn more about languages supported on Kindle.

Step 4. Enter your book title and subtitle
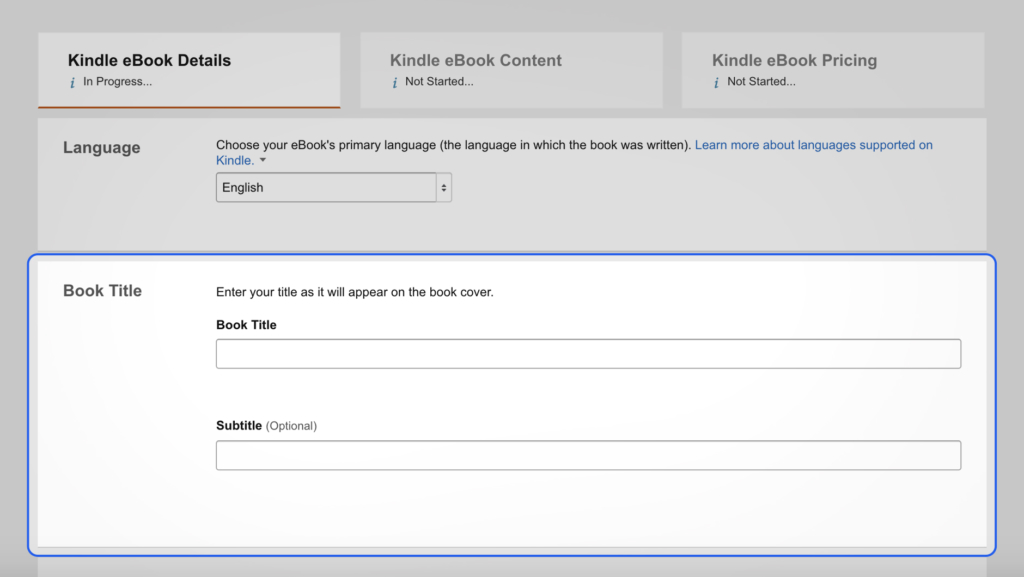
Your book title is critically important:
Readers start judging your book the instant they see the cover, and the title is the first thing they read.
It has to be magnetic.
So before you choose your book title, read my article on how to do that and watch Chapter 4 of our free publishing course, in which I walk you through the whole process.
Step 5. Enter the Author name
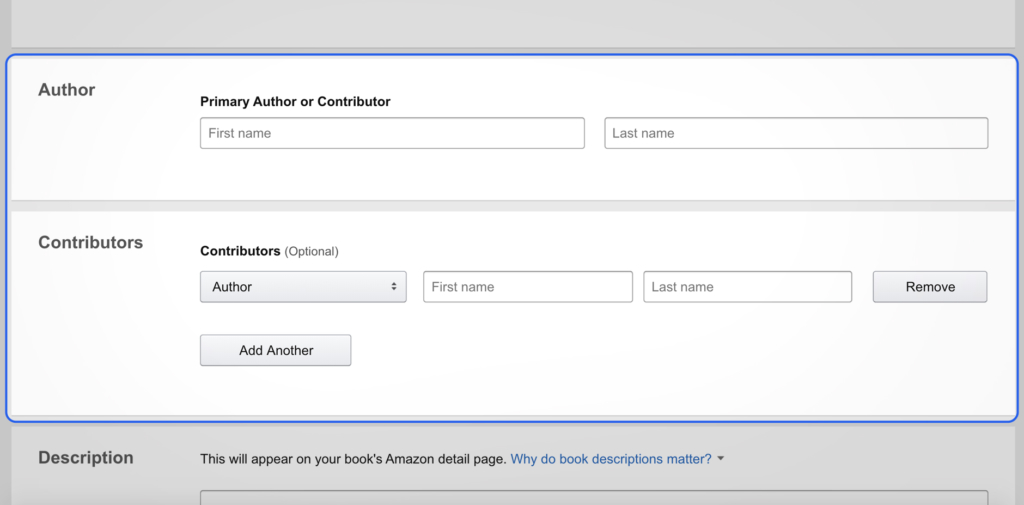
For the Author name, enter the name you want to publish under—the name you’ll use on the book cover.
This can be your own name or a pen name.
If there is more than one Author, enter the other names using the Contributors box.
Step 6. Enter your book description
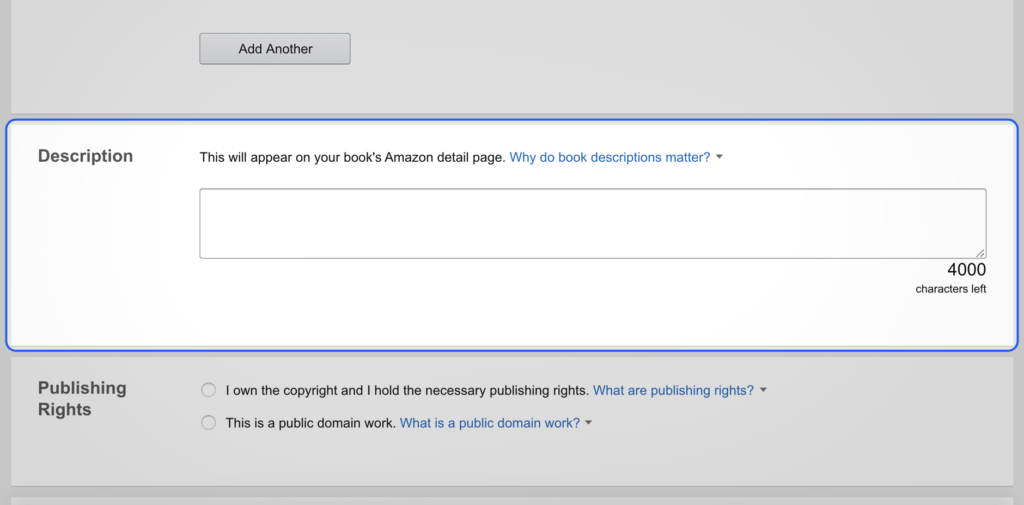
Amazon lets you enter up to 4,000 characters for your book description. This is the write-up that will appear on your book’s detail page.
Your book description is a sales pitch for readers.
It’s a key part of your book’s marketing materials. Write it carefully. For guidance, read my step-by-step guide to writing a great book description.
Amazon’s description box accepts the old html tags for bold and italics. Use them wisely.
For even more control over your book’s detail page, join Author Central once your book is listed on Amazon.
Step 7. Verify your publishing rights
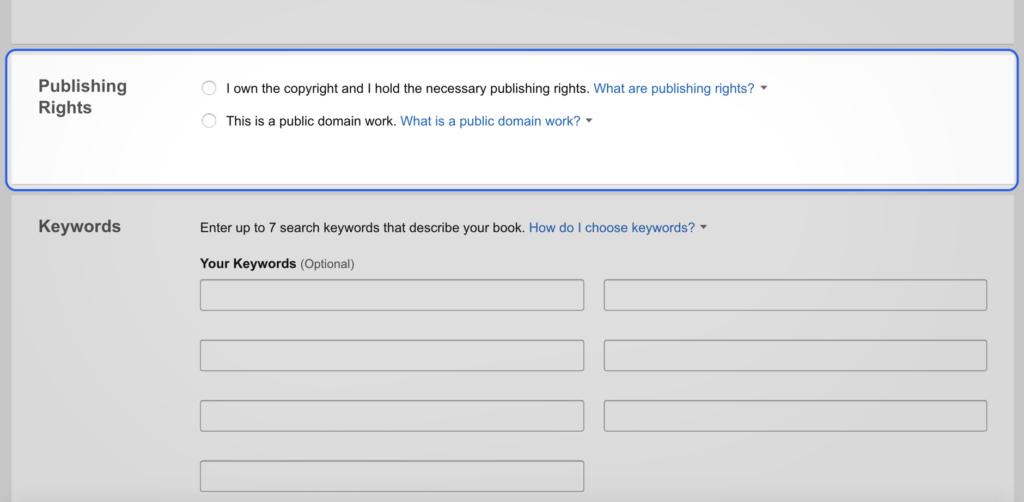
If you are the Author of the book, choose the radio button that says: “I own the copyright and I hold the necessary publishing rights.”
Under US copyright law, you own the right to your work the moment you first write it in any form.
Step 8. Choose your keywords
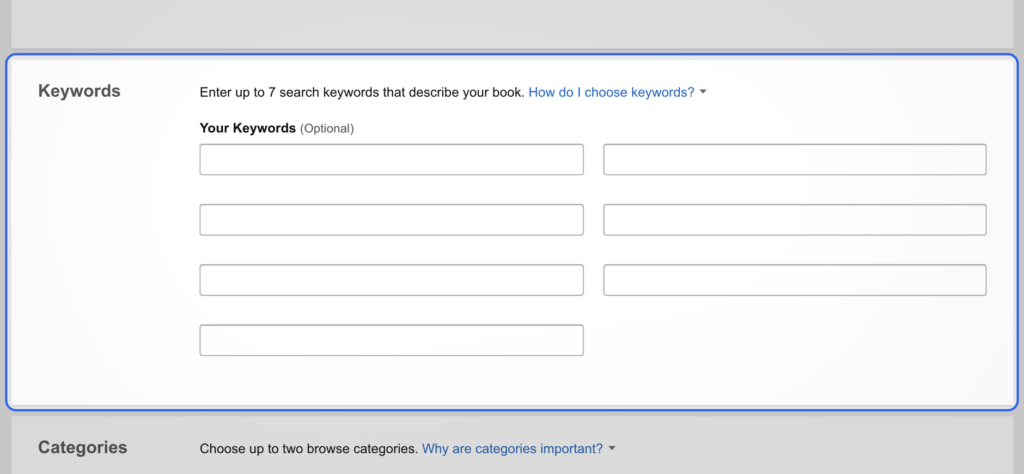
Think about these carefully. When you fill in these boxes, what you’re really saying is:
When people enter these words in an Amazon search, I want my book to come up.
They should relate directly to the reader’s pain that your book can solve (hint: reread your book introduction).
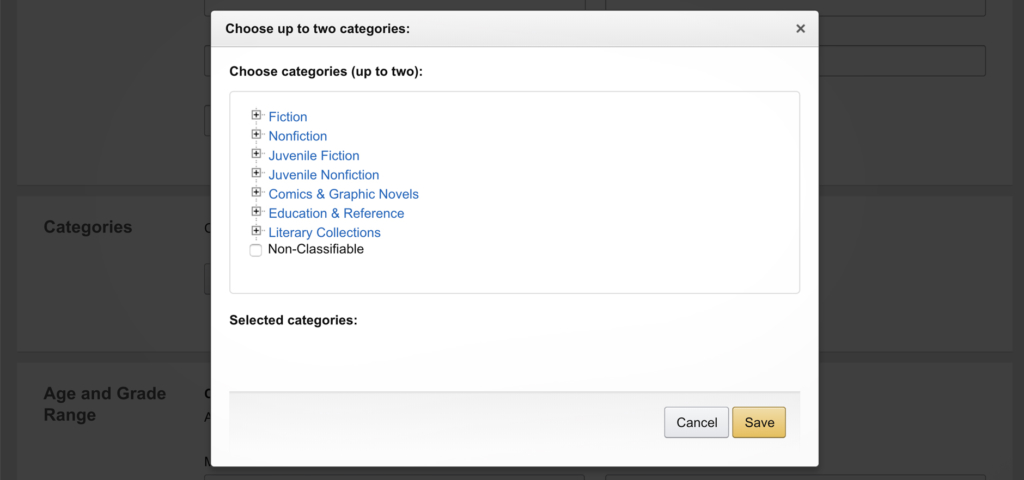
Step 9. Choose two categories for your book
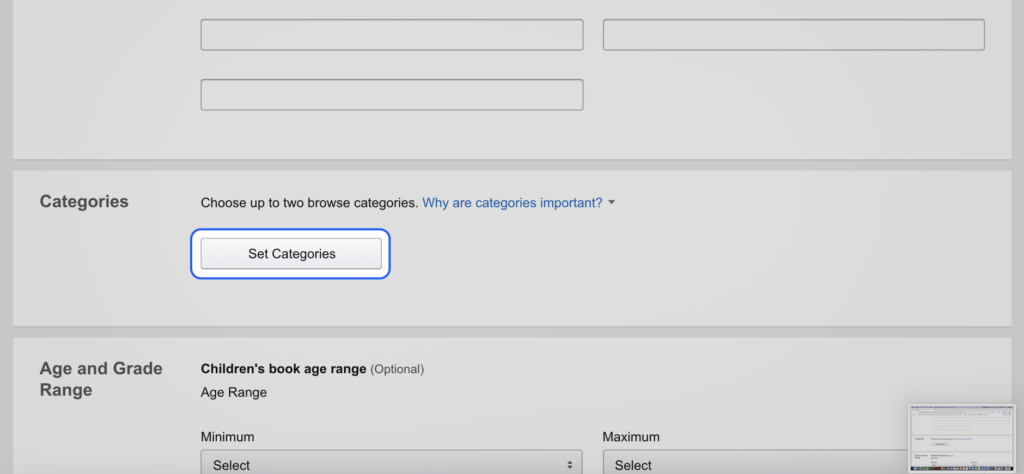
Use the Categories popup box to choose two categories for your book. Use the “+” buttons to drill down as far as you can.
This is another critical marketing decision. It determines where readers will find your book, what other books it’s competing against, and even how hard it is to get a bestselling flag.
For help thinking through these issues, read my post on Amazon categories.
To add more categories to your book listing, contact Amazon through Author Central after your book is published.
Step 10. Choose the right age range (if this applies)
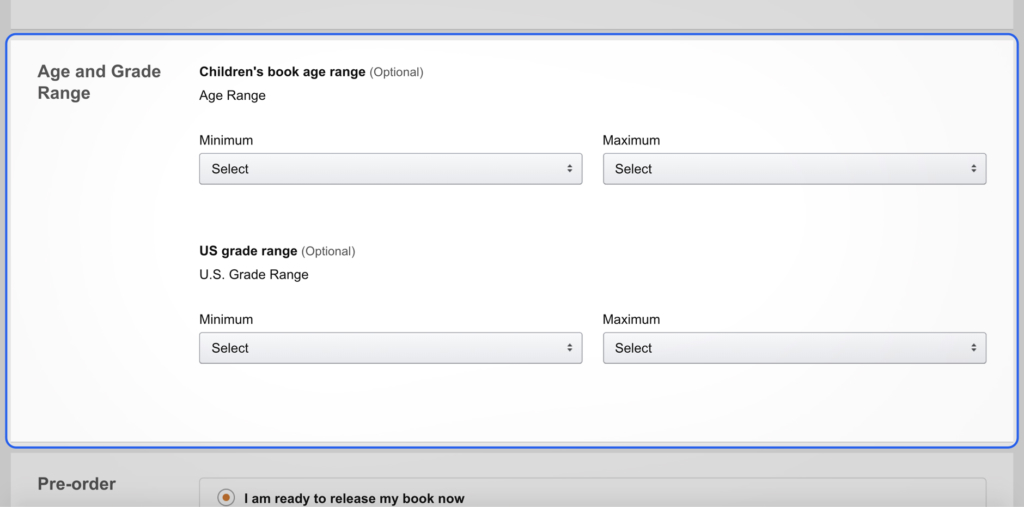
Do not do anything with this box unless your book is for teens or younger readers. If it is, choose each minimum and maximum that applies.
Step 11. Choose your book release option

Unless you already have thousands of people lined up to buy your book, you’ll need a marketing plan before you’re ready to publish. Especially for a non-fiction book.
Book sales are driven by media coverage, book blurbs, advance reviews, email lists, and more. That kind of buzz is a lot easier to generate for a new book, so this is very important:
Do not publish first and figure out the marketing later.
Create your plan for a full book launch before you set a publishing date.
No matter what you choose as your publishing date for now, you can keep entering your book’s info by choosing “Save and Continue.” Just remember to come back to this and set your real date before you publish your book.
There used to be a significant limit on KDP pre-order dates, but now they can be up to a year in advance.
Step 12. Select DRM rights
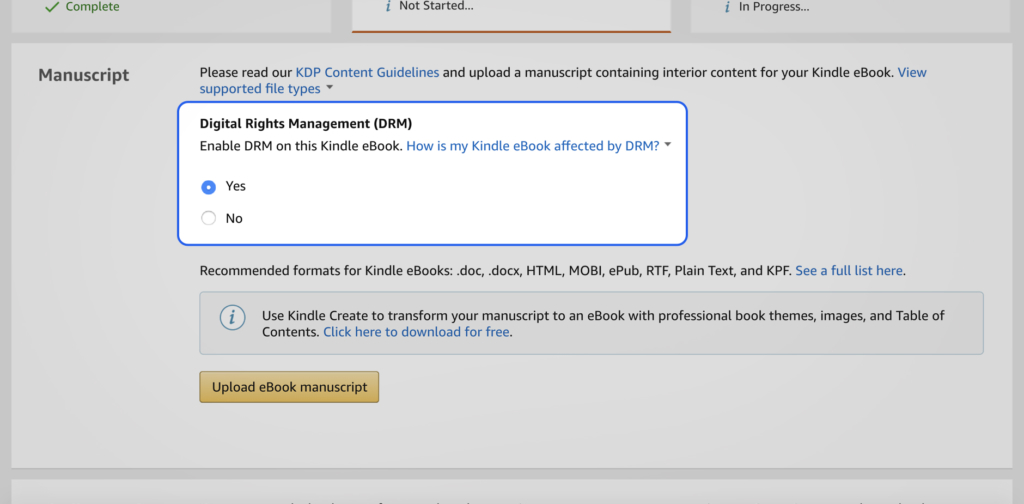
Make sure you enable DRM.
Digital Rights Management prevents people from copying your book and sending it to other people for free.
Even with DRM turned on, people can still loan the book to friends for a short time through Kindle’s lending system. They just can’t steal it.
Once you publish your book, you can not change the DRM setting.
Step 13. Upload your book
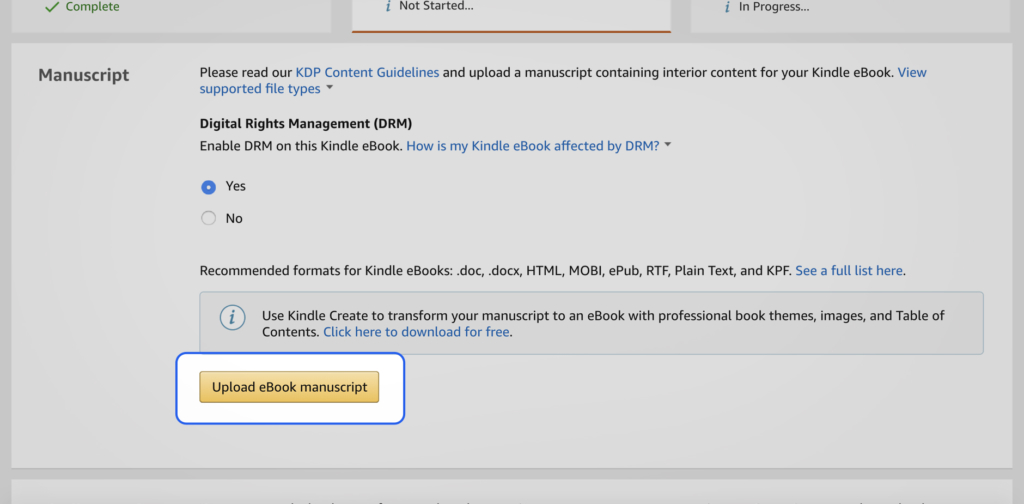
Despite the options provided (like pdf or doc files), turn your eBook into a well-formatted epub file before you upload it.
Always use the current Kindle format so your book will look good in every e-reader.
Formatting a book isn’t easy, but doing a good job is critical if you want your book to look professional. And eBooks need to be formatted a bit differently for Amazon than for any other eBook retailer.
If you have an epub file ready and you want to see how it will look as an Amazon book, upload it here. You can preview it after you load the cover file.
Step 14. Upload your book cover
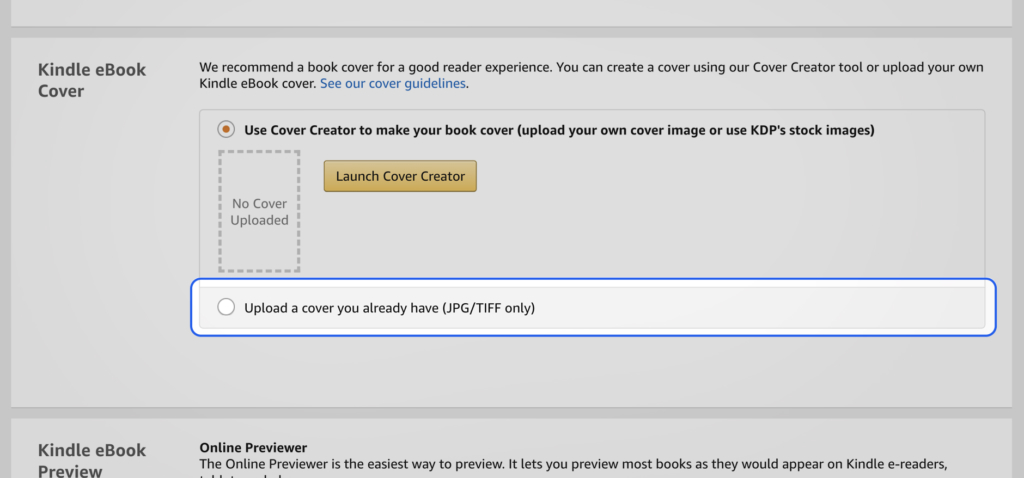
People do judge books by their covers. Like it or not, this is 100% true, and there’s a ton of marketing research to back it up.
If you want your book to sell, the cover design has to be professional.
Do not design your own book cover. Even something as simple as the cover font can ruin your cover if you don’t know what you’re doing.
If you want to be taken seriously as a published Author, hire a professional cover designer (and listen to them.)
Step 15. Preview your book
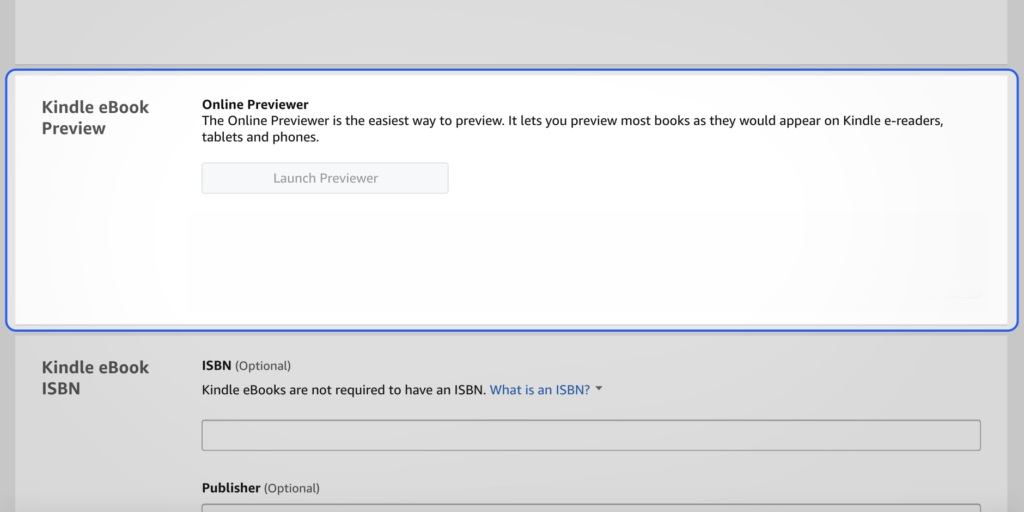
Once you’ve uploaded your manuscript and cover, you can preview your book using the Kindle Previewer.
Do not use the “Launch Previewer” button. Instead, click “Preview on your computer” and install the current previewer app for Mac or Windows. Then download and open your book file through the “MOBI” link.
Do not rush through your preview. Read and test everything.
Check the cover image. Make sure the navigation works. Try every external link. Look at every single page.
Reading your own book over and over isn’t fun, but that’s the price of DIY publishing.
Why “DIY publishing”? Because you can self-publish a book and still get help.
DIY publishing is doing it completely on your own. I don’t recommend it.
Step 16. ISBN and Publisher
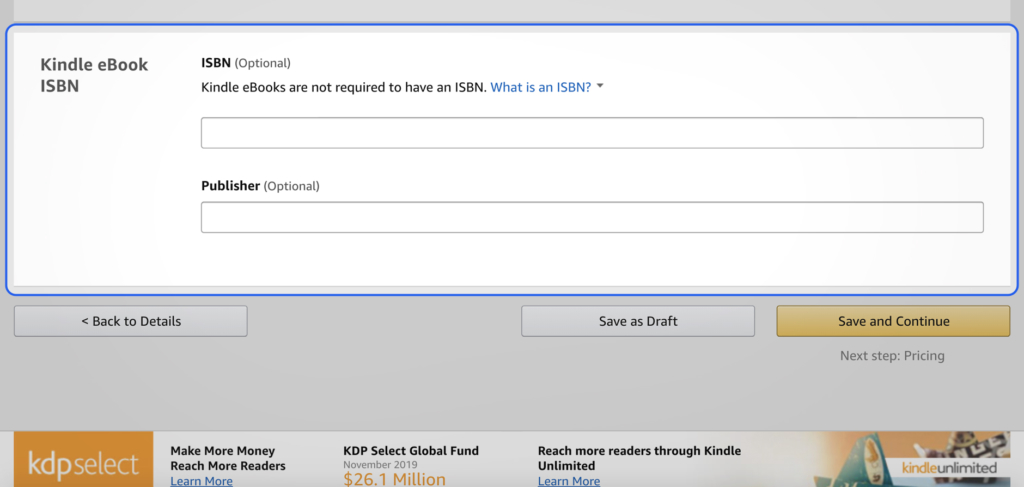
You don’t need an ISBN or a publisher for a Kindle eBook. If you intend to publish only on Amazon, you can leave these blank.
From here, choose “Save and Continue” if you want to keep going. Amazon won’t publish your book until you click “Publish Your Kindle eBook” at the bottom of the next screen.
Step 17. Skip KDP Select for now (You can add it later)
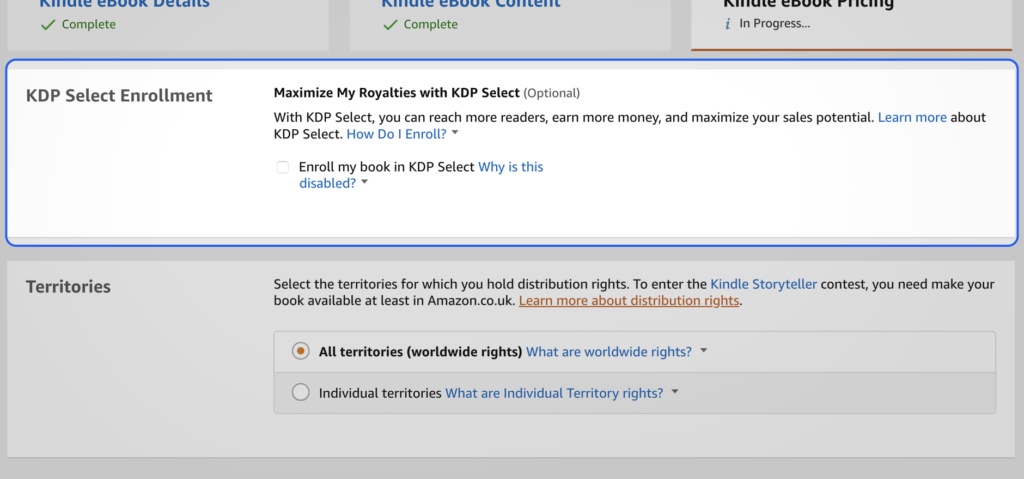
You can always add your book to KDP Select, even after it’s published. But once it’s in the program, you have to leave it there for at least 3 months.
KDP Select enrolls your book in Kindle Unlimited and gives you additional marketing options, like Kindle countdown deals, but the digital version of your book has to be exclusive to Amazon.
Make this decision as part of your overall book marketing plan.
Step 18. Choose your territories
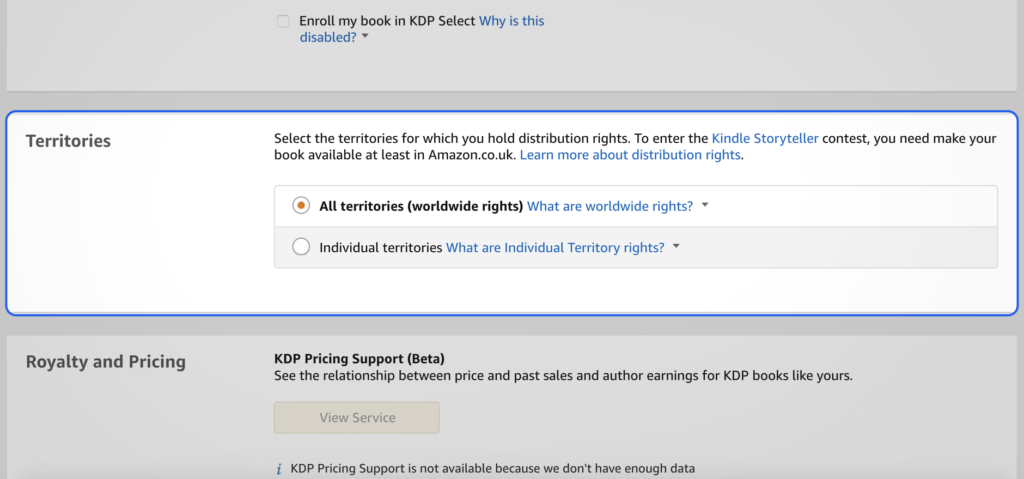
Choose “All territories (worldwide rights)” unless you have a good reason not to.
This will make your book available in all of Amazon’s global territories once you’re ready to publish it.
Step 19. Choose your royalty and pricing
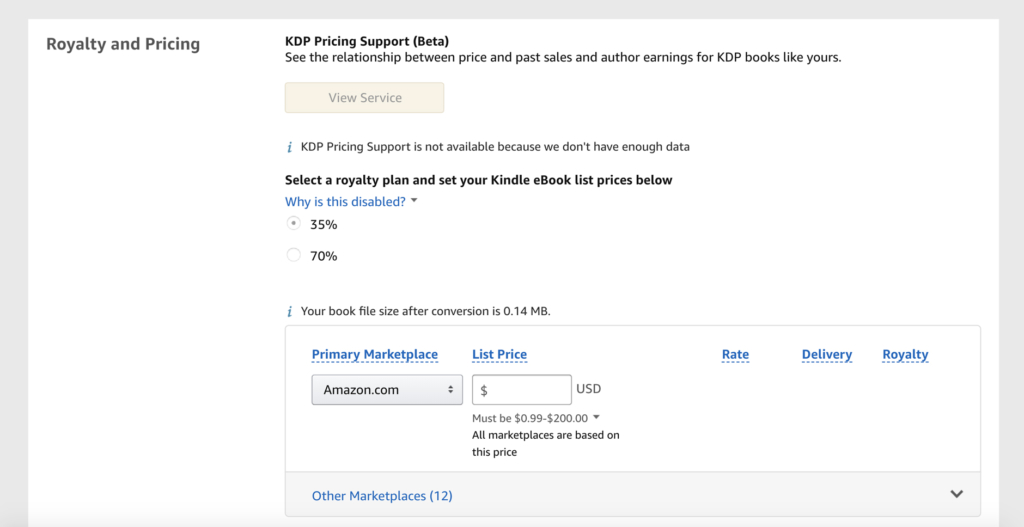
Choose between 35% and 70% for your royalty. For most Authors, the 70% royalty will pay more. That seems obvious, but it does add some pricing limitations as well as a slightly different royalty calculation.
Choose Amazon.com as your primary marketplace, then set the list price. The price in other marketplaces will be set according to exchange rates, but you can set each one manually if you want to.
Step 20. Add the book to matchbook and book lending
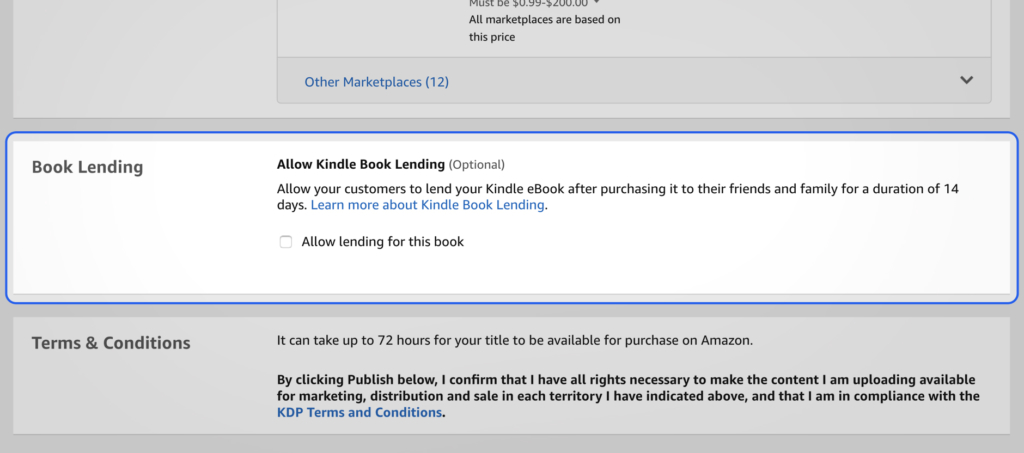
These options are up to you, but you’ll have to enroll in book lending if you want the 70% royalty.
Step 21. Save to draft until you’re ready
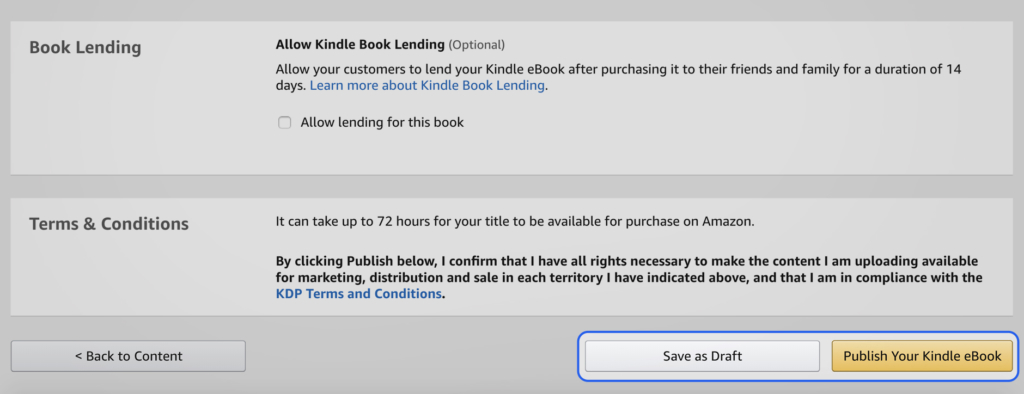
Choose “Save as Draft” until you’re ready to choose a publishing date and launch your book.
I can’t stress enough how important it is to think through every aspect of your book’s marketing before you publish. That goes beyond your book’s cover, layout, pricing, and marketing plan.
It also includes your Author branding.
The moment your book goes live, you’ll need to set up your Amazon Author page with your Author photo and bio. You’ll also need to add any blurbs to your book’s detail page.
Get those ready now.
Finally, pay attention to your gut. No matter how impatient you’re feeling to see your book on the Kindle store, your gut will tell you if something isn’t ready. If you’re feeling pulled to wait and fix anything, do it.
Step 22. Self-publishing your print book (formerly CreateSpace)
CreateSpace used to be Amazon’s print-on-demand publishing arm, but now print books go through KDP.
You can use the same KDP account to add the print version of your book, but that’s a whole different project.
Your cover needs a spine and a back, and it needs to be in a different format. Interior formatting is completely different and much harder. The pricing is different, depending on both the market and print costs.
Publishing eBooks on your own is hard. DIY print books are much harder.
If you want a print book, I strongly recommend getting some help.
That said, there are a lot of excellent reasons to publish a print book.
- Advance reviewers prefer them
- Most serious media outlets require them
- You can hand them to potential clients
- You can put them in gift bags at speaking engagements
- They can expand your business in ways an eBook just can’t
For many Authors, they’re worth the investment.
If you want a print book, have it ready to go before you publish your eBook so you can include it in your marketing plan.
Other Frequently Asked Questions about Self-Publishing on Amazon
Can You Use a Traditional Publisher after Being on Amazon
Yes, so long as you retained the rights to your book. However, it can be difficult for a few reasons. If your book hasn’t produced the kinds of sales a traditional publisher wants to see (usually because you haven’t marketed and promoted your book well), they’re far less likely to be interested unless something unique convinces them it still has great commercial potential.
Amazon Book Publishing Software
Amazon recommends Kindle Create, their free interior formatting tool available for desktop on both Mac and PC. Kindle Create can be used to create novels, essays, memoirs (Reflowable); textbooks, travel books, and cookbooks (Interactive Print Replica); and Comics (Comics with Guided View).
Interactive Print Replicas maintain the look and feel of a print edition but your readers won’t be able to resize text and they may not work on some devices. Be sure to review the full system requirements and supported features for Kindle Create.
Final Thoughts on Amazon and Self-Publishing
Publishing is a skill in its own right, entirely separate from writing.
It’s tempting to rush your manuscript to market, but then you might as well throw away all the hard work you put into writing it.
Publishing a book that looks unprofessional makes you look unprofessional. You’d be better off not publishing at all.
But if you take your time and do it right, publishing that book can be the best thing you ever did—for yourself and for your career.